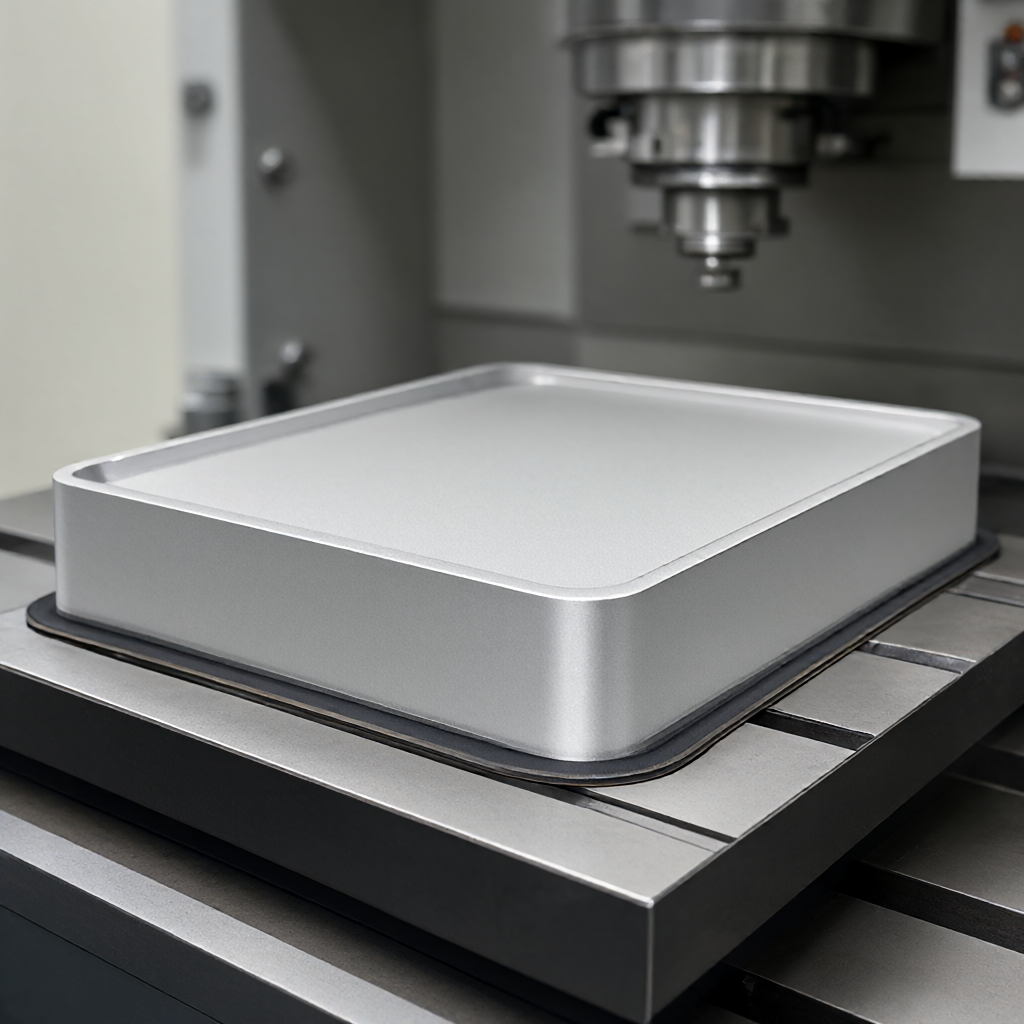
Deformation of thin-walled components in aluminum alloy CNC machining is a common pain point for procurement and engineering teams. Starting from material characteristics and stress release principles, this article analyzes key strategies for preventing thin-wall deformation in the custom machining of precision aluminum parts, focusing on fixture design and optimization of process parameters. For tolerance requirements of ±0.01mm, it provides measured and verified measures to prevent machining deformation of thin-walled aluminum parts, covering 3-axis/5-axis milling path planning, a comparison of vacuum suction and machine clamping solutions, and stress stabilization treatment prior to anodizing. It is applicable to use cases such as aerospace and communication base stations that have high requirements for dimensional stability.
Core Mechanisms of Deformation in Aluminum Alloy Thin-Wall Machining
Coupled Effect of Residual Stress and Cutting Heat
Aluminum alloys (such as 6061-T6, 7075-T6) already have a residual stress distribution present from casting and extrusion processes. During CNC milling, the removal of the cutting layer disrupts the original stress equilibrium, causing stress redistribution. When the remaining wall thickness is less than 30% of the original wall thickness, the deformation caused by stress release typically reaches 0.05-0.15mm, far exceeding the ±0.01mm tolerance requirement.
The impact of cutting heat cannot be ignored. When carbide tools cut 6061 aluminum, the cutting temperature can reach 200-350℃. Thin-walled components have low thermal capacity, and local temperature rises cause material expansion (the thermal expansion coefficient of aluminum is approximately 23.1×10⁻⁶/℃); subsequent cooling causes uneven contraction leading to warping. Measured data indicates that when single-side cutting depth exceeds 0.3mm, the flatness deviation of uncooled thin-wall plates can reach 0.08mm/m.
Elastic Deformation Caused by Fixture Reaction Forces
In traditional machine clamping solutions, the pre-tightening force of the clamp bolts creates local compressive stress in thin-wall areas. According to Hooke's Law, the elastic modulus of 6061 aluminum alloy is approximately 69 GPa. Assuming a clamp contact area of 10mm×10mm and a pre-tightening force of 500N, the local indentation depth is approximately 0.007mm. If sufficient relief is not provided, this deformation partially recovers after de-clamping, but micro-plastic deformation occurs within the material, affecting final dimensional stability.
Key Principles of Fixture Design
Relief Design and Contact Surface Optimization
For thin-walled components, fixtures must adopt the "relief" principle. Cavities or holes matching the workpiece shape should be machined under the clamps to avoid applying pressure directly to areas where critical dimensions are measured. For example, when machining a 2mm thick 6061 aluminum frame, with a 3mm thick clamp, a 2.5mm deep counterbore should be milled underneath; the 0.5mm relief ensures that clamp pressure is not transmitted to the workpiece.
Contact surfaces should use polyurethane coating or copper shims, with hardness controlled at 90-120 Shore A. Hard steel clamps pressing directly onto soft aluminum surfaces will leave permanent indentations after de-clamping, affecting the uniformity of the anodized oxide layer. Polyurethane coating disperses pressure, reducing contact stress by 40%-60%, effectively preventing surface scratching and local deformation.
Multi-Point Uniform Pressure Application Strategy
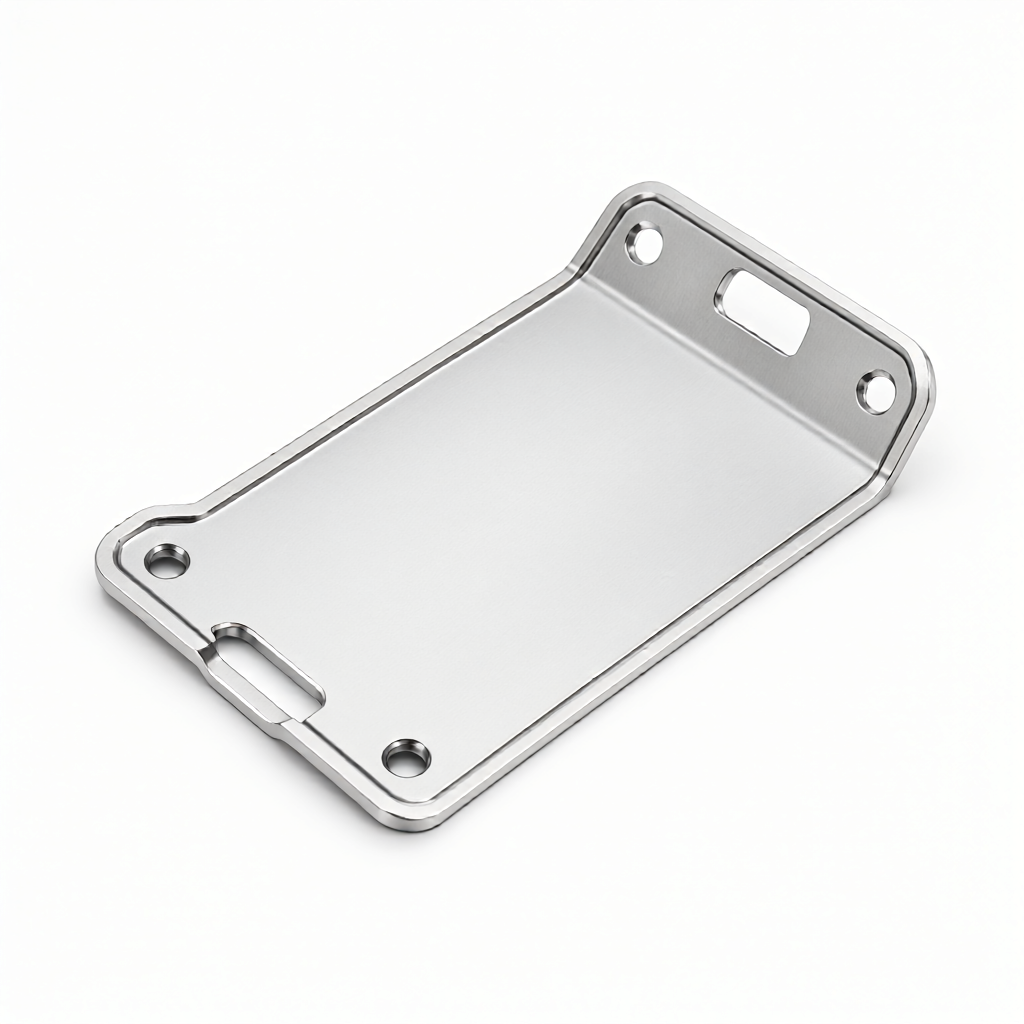
Thin-walled components are susceptible to vibration; fixtures should adopt a multi-point support layout. For rectangular plate parts, the number of clamp points should be at least the basic configuration of "2 in the long-edge direction × 2 in the short-edge direction," with intermediate clamp points added when the length-to-width ratio exceeds 3:1. Clamp point spacing should be controlled within 8-12 times the plate thickness to prevent local bending. For example, for a 500mm×300mm×3mm aluminum frame, the clamp point spacing should be approximately 24-36mm, requiring 8-12 clamp points.
Comparison of Thin-Wall Aluminum Machining Solutions
Comparison of Aluminum Alloy Thin-Wall Machining Solutions
| Solution Type |
Applicable Wall Thickness |
Deformation Control Precision |
Efficiency |
Primary Risks |
Applicable Scenarios |
| Vacuum Suction Platform |
≥1.5mm |
±0.005mm |
High (Quick Changeover) |
Insufficient suction causing runout |
Communication base station aluminum parts with high flatness requirements |
| Machine Clamping + Relief Clamp |
0.8-3mm |
±0.01mm |
Medium (Requires Clamping Adjustment) |
Indentations, micro-plastic deformation |
Small to medium batch precision aluminum structural parts |
| Pin Location + Soft Vise |
≥2mm |
±0.015mm |
Low (Long Clamping Time) |
Location pin wear |
Die inserts with location holes |
Vacuum suction solutions are suitable for large flat, thin-walled (≥1.5mm) parts, using uniform suction through vacuum holes to secure the workpiece and avoid contact stress. However, suction is affected by hole diameter and air leaks; thin-walled parts are prone to "micro-chatter" under cutting forces, necessitating vacuum level monitoring (recommended ≥55kPa). Machine clamping with relief clamps is the mainstream solution balancing precision and efficiency, suitable for wall thickness
For parts ranging from 0.8 to 3mm in thickness, the dent risk is minimized through yield design (clearance features). The pin-location scheme is suitable for parts that already have location holes; it is cost-effective but has low clamping efficiency, making it ideal for small-batch repair machining.
Cutting Parameters and Toolpath Optimization
Shallow Depth of Cut and High-Speed Strategy
Machining thin-walled components should follow the principle of “shallow depth of cut, high speed, and high feed rate.” For 6061 aluminum, the recommended depth of cut per pass with a single tool path is ≤0.2mm, with a spindle speed of 8000–12000rpm and a feed rate of 500–800mm/min. Shallow cuts reduce peak cutting forces, thereby minimizing lateral deformation of the thin walls; high-speed cutting shortens machining time and reduces heat accumulation. For extremely thin parts with wall thicknesses less than 1mm, photocurable resin supports or wax models can be used for temporary reinforcement and removed after machining.
Z-Axis Layering and Stock Allowance Strategy
Employ Z-axis stepped milling, leaving a finishing allowance of 0.1–0.2mm per layer, with the final layer used for the finishing pass. For example, when machining a 2mm-thick aluminum part, first perform rough milling down to 1.8mm in two steps of 0.9mm each; then finish mill down to 1.75mm, and finally perform the finishing pass to achieve 1.5mm. This layering strategy controls deformation per layer, avoiding cumulative errors that result from cutting to final dimensions in one pass. The finishing allowance must account for the subsequent anodized film thickness (typically 8–15μm), requiring a corresponding allowance compensation value.
Stress Relief and Dimensional Stability Control
Ageing Treatment and Stress-Relief Annealing
For high-strength aluminum alloys such as 7075, stress-relief annealing is recommended prior to CNC machining (holding at 250–275°C for 2–4 hours, followed by air cooling) to eliminate work-hardening effects. For 6061-T6 already-aged material, if the thickness difference exceeds 20mm or the shape is asymmetric, post-machining aging and stabilization are required. Test data shows that unstressed-relieved 7075 thin-walled parts can experience dimensional drift of up to 0.03mm after 7 days of storage; stress-relief treatment reduces this drift to within 0.005mm.
Temperature Monitoring During Machining
Use full-synthesis coolant or dry machining with air-cooling to control the surface temperature of thin-walled parts below 60°C. Temperature sensors should be attached to critical faces to monitor thermal deformation trends in real time. If the temperature rise exceeds 15°C, pause machining for 10 minutes to allow cooling and avoid thermal accumulation that leads to warping. For batch production, the first article requires “thermal-equilibrium machining”—first running 3–5 empty passes to stabilize the workpiece temperature before formal cutting begins, thereby eliminating the impact of thermal deformation.
FAQ: Prevention of Deformation in Thin-Walled Aluminum Machining
How long should thin-walled aluminum parts be left after machining before measuring final dimensions?
Allow at least 24 hours for sufficient release of residual stresses. For high-strength aluminum alloys such as 7075, the storage time should be extended to 72 hours. Before measurement, the part must be fully removed from the fixture and allowed to sit still to avoid vibrations. Early measurements (<12 hours) may reflect dimensional changes of 0.01–0.02mm due to ongoing stress relaxation.
Which clamping method—vacuum or mechanical—is more suitable for 0.5mm-thick aluminum sheets?
For 0.5mm-thick aluminum sheets, a combination of vacuum suction and flexible membrane pads is recommended. Mechanical clamping alone is difficult to control and may easily crush or bend the part. Vacuum suction provides uniform force, but the suction area must cover at least 80% of the workpiece to prevent edge lifting. Keep cutting forces below 50N during machining to avoid losing vacuum suction.
How to determine whether the fixture design has insufficient clearance?
Assess this via a “dent-depth test”: place a piece of aluminum foil (0.1mm thick) under the fixture pressure plate, simulate clamping, then disassemble and measure the dent depth using a surface roughness tester. If the dent depth exceeds 0.02mm, clearance is insufficient; increase the clearance depth or switch to softer wrapping material. Dents cause uneven anodized film thickness, compromising appearance quality.
What is the solution for out-of-tolerance dimensions caused by vibrations during thin-walled aluminum machining?
Vibrations primarily stem from tool radial runout and inadequate support rigidity. Solutions include: using tools balanced to dynamic balance grade G2.5 or higher, reducing spindle speed to below 7000rpm; adding temporary support ribs (welded or bonded) to the workpiece; and using a high-rigidity fixture base (e.g., cast iron instead of aluminum). Test data indicates that suppressing vibrations improves dimensional stability by approximately 0.008mm.
How to ensure thin-walled aluminum parts do not deform prior to anodizing?
The pickling and electrolysis steps in the anodizing process produce minor thermal deformation (<0.01mm). Perform the final precise milling before anodizing, reserving a 0.02mm compensation for the anodized film thickness; do not perform additional mechanical machining after anodizing. If secondary machining is required post-anodizing, re-evaluate stress-relief timing to avoid electrochemical corrosion risks caused by breaking the oxide layer.
Conclusions and Actionable Recommendations
Deformation control in aluminum thin-walled part machining is a systematic process requiring coordinated optimization across four dimensions: material selection, fixture design, cutting parameters, and stress relief. It is recommended that purchasers specify “maximum allowable deformation” and “critical dimensional stability requirements” at the drawing stage, enabling the manufacturer to tailor the process accordingly. ShowyMetal supports this with 72 CNC machines, achieving precision down to ±0.01mm and surface finish Ra0.4μm, with batch order delivery within 15–25 days. You may send your drawings and material specifications to obtain DFM suggestions and a deformation-control plan, and to evaluate machining feasibility and cost.